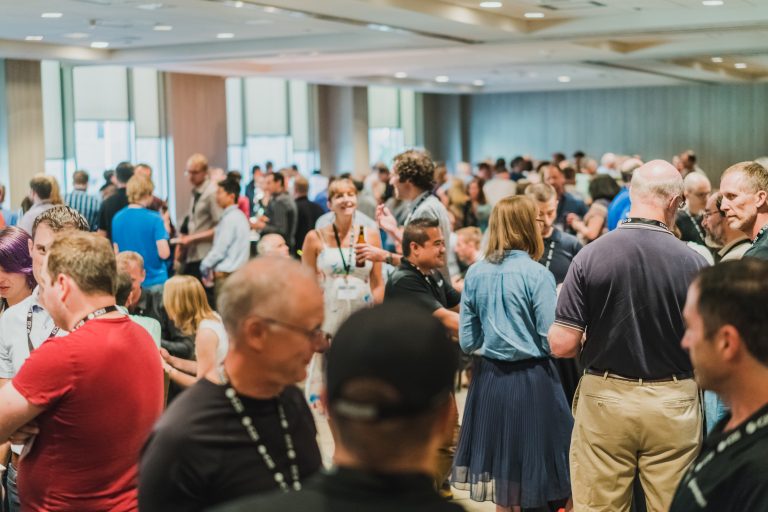
Join the entire ICES community for a welcome reception in the Great River Ballroom at the InterContinental Saint Paul Riverfront.
Take this opportunity to refresh old contacts and meet new participants the evening before the conference begins. (Guests tickets may be purchased through online conference registration)
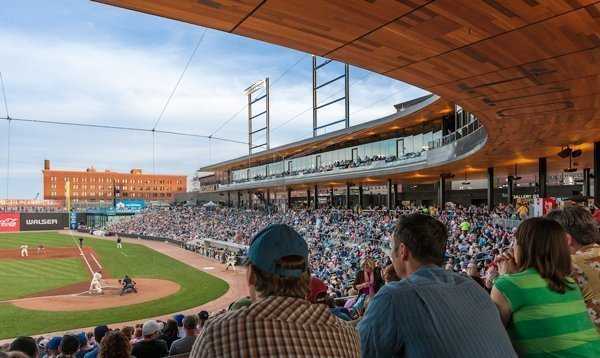
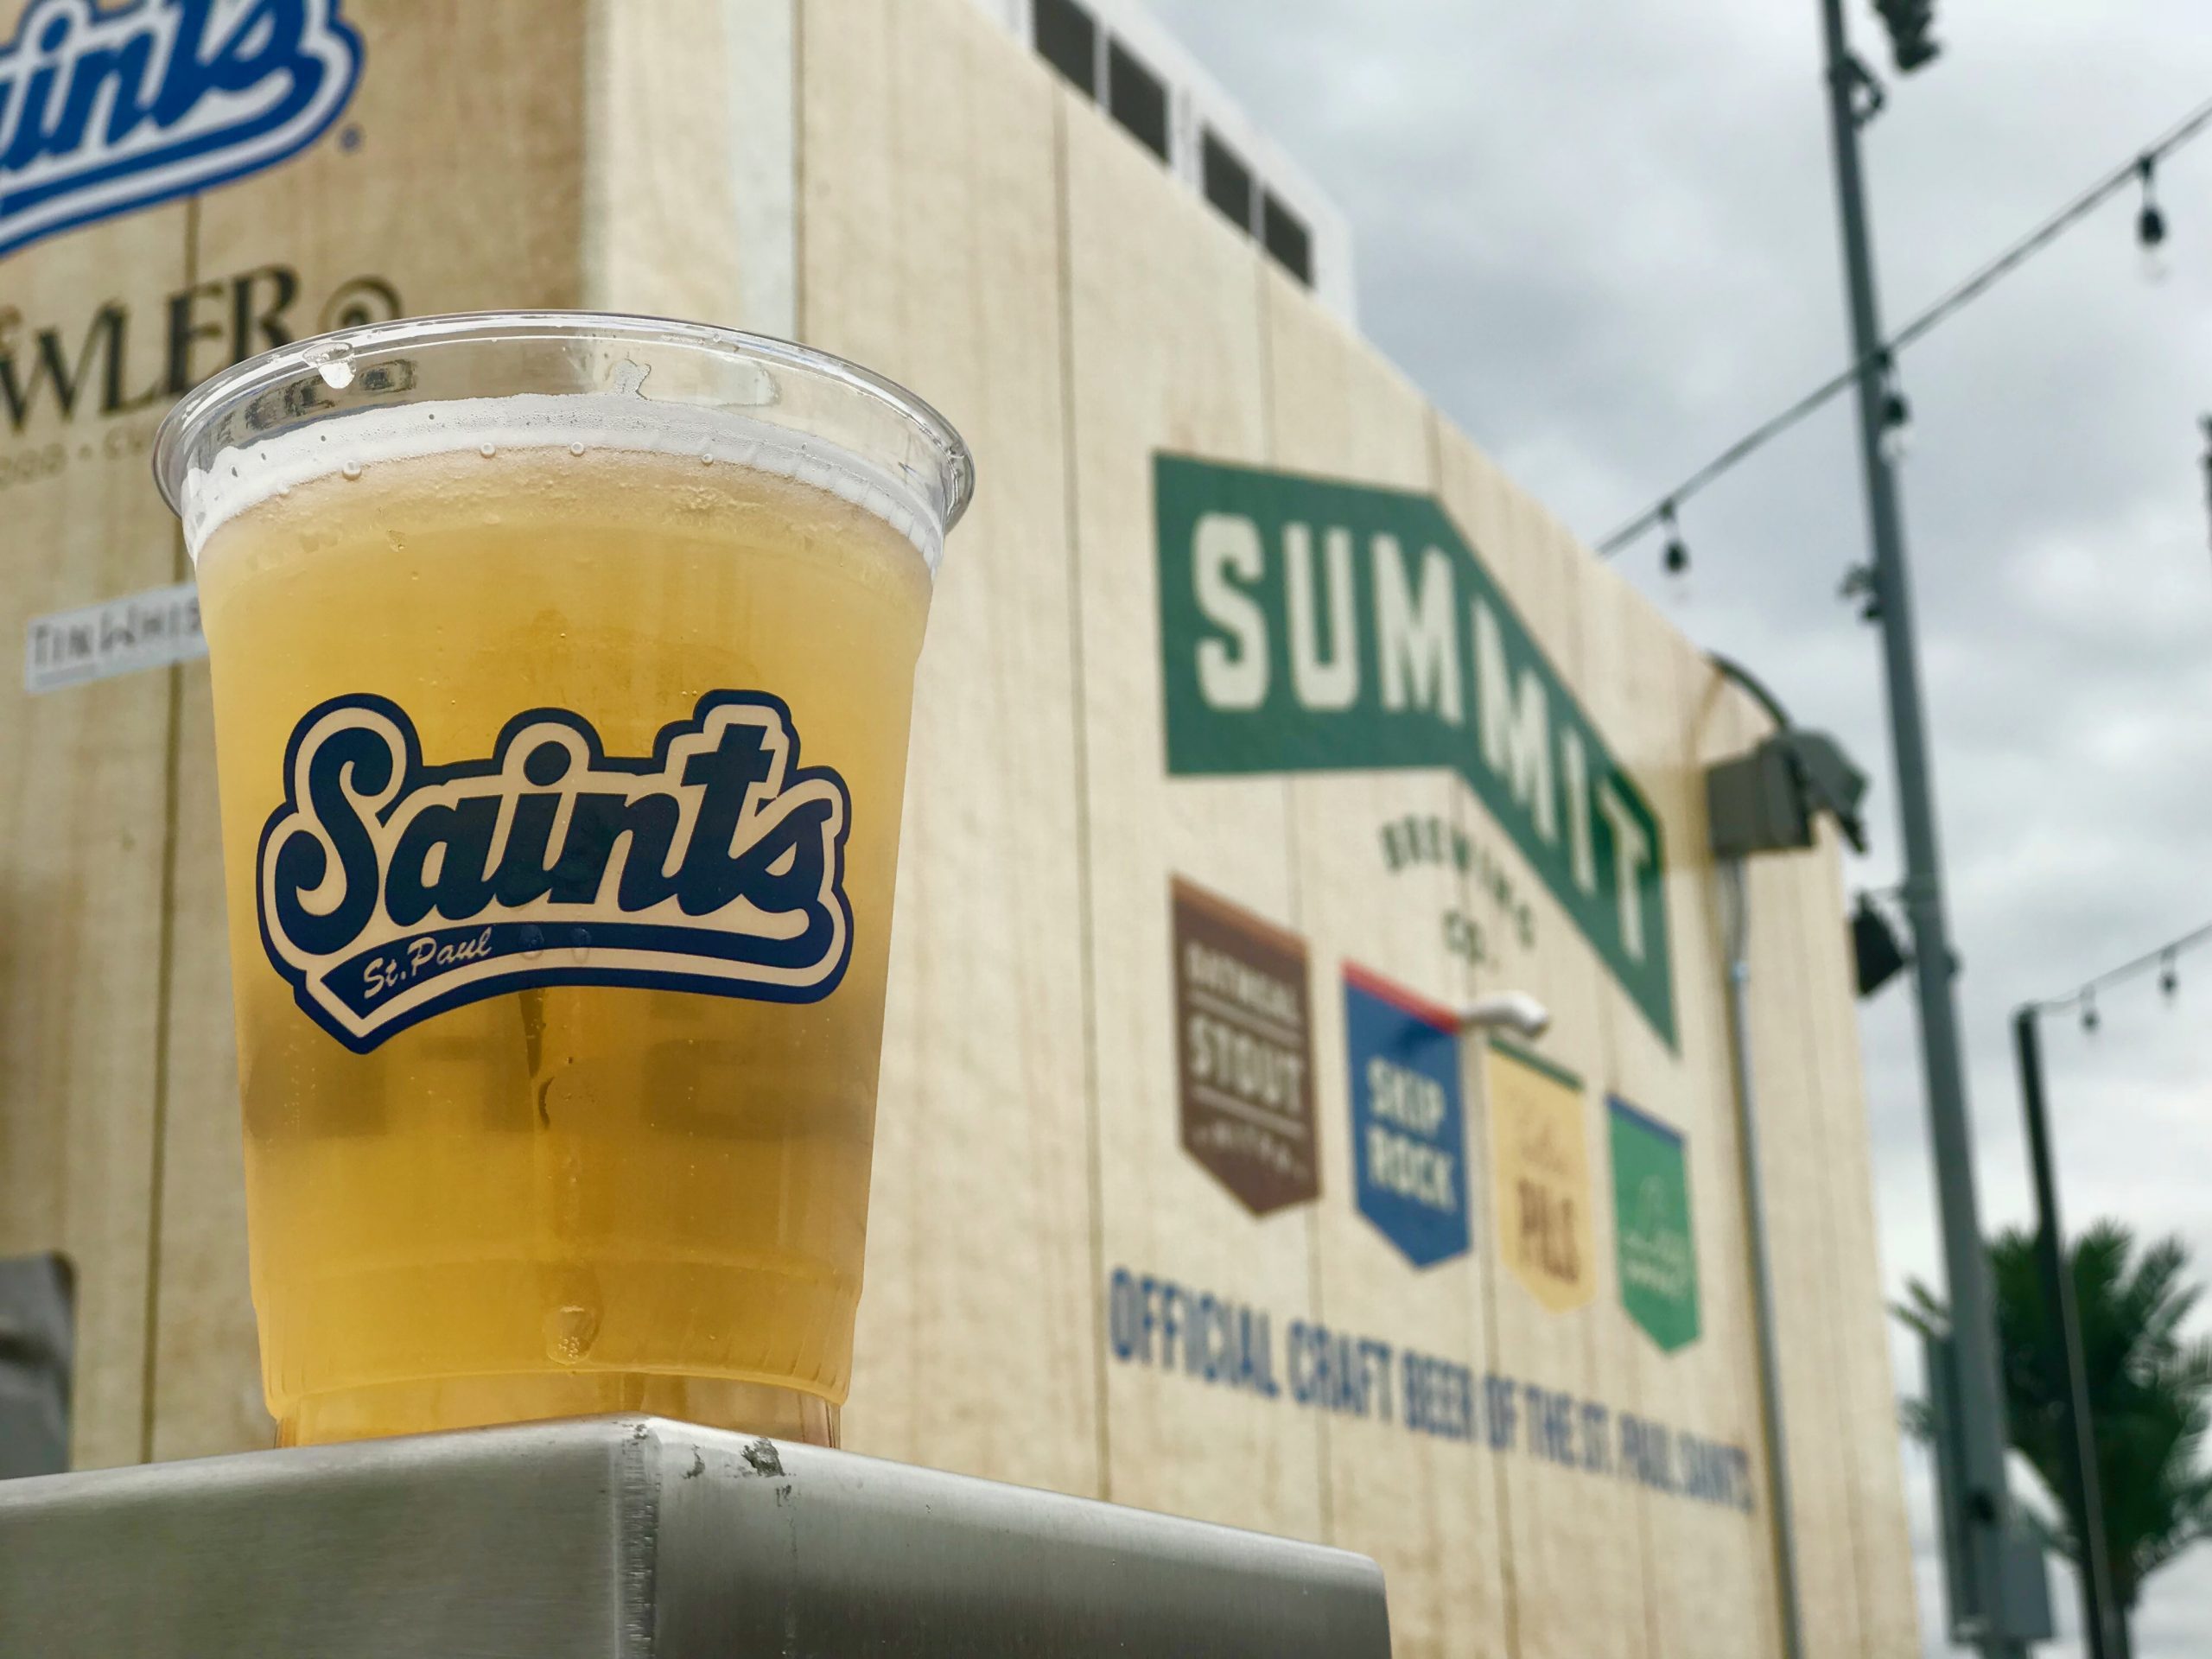
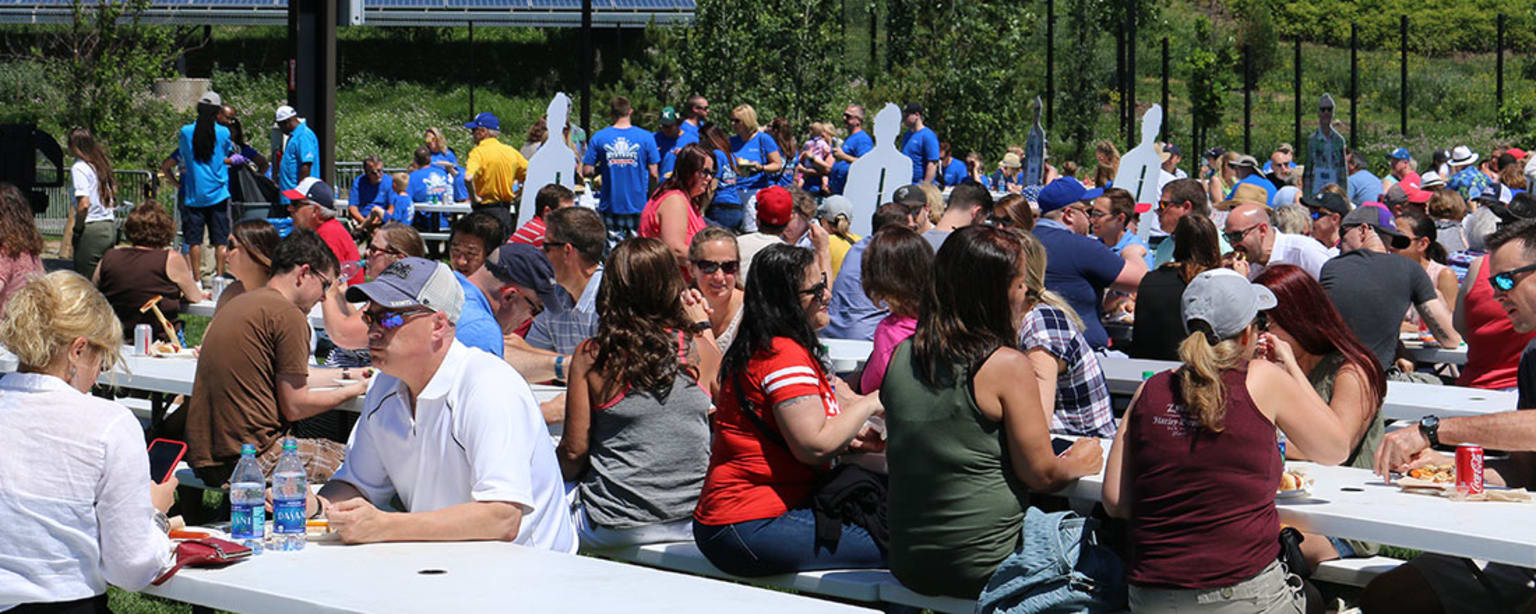
Take Me Out to the Ball Game!
St. Paul Saints Game Tuesday, 12 July
17:30 Picnic
19:00 First Pitch
*Included in registration where indicated
(Guests tickets may be purchased through online conference registration)
Watch this hometown team and Triple-A affiliate for MLB Minnesota Twins at CHS Field within walking distance from the host hotel.
The ICES community will enjoy a picnic dinner at the stadium on the Cub a Cabana Lawn and then sit all together in reserved seating sections to watch the game.
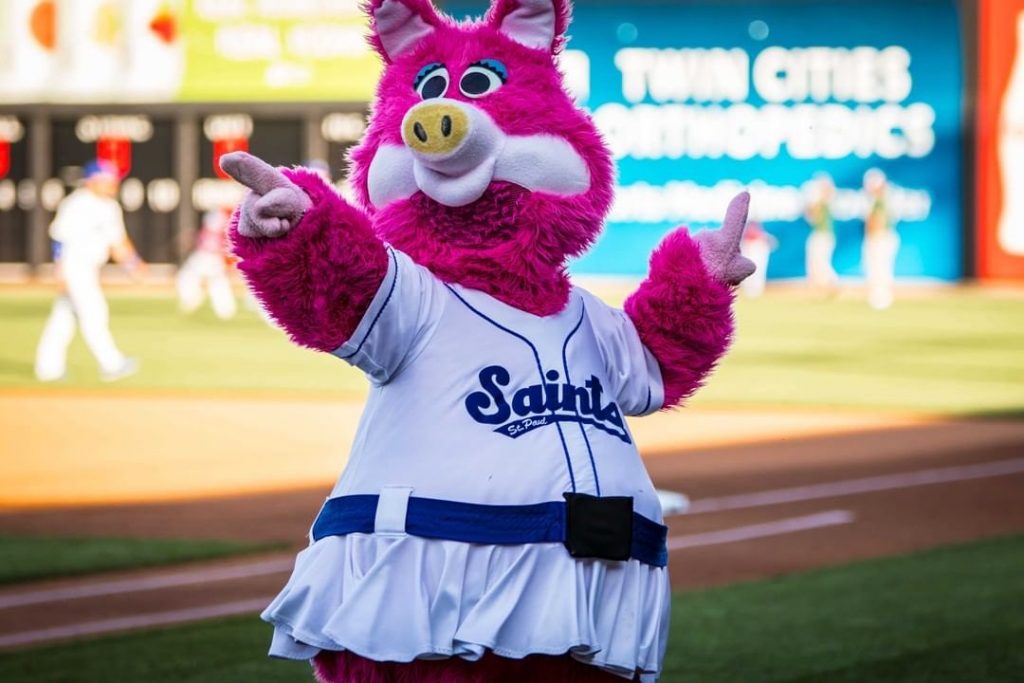
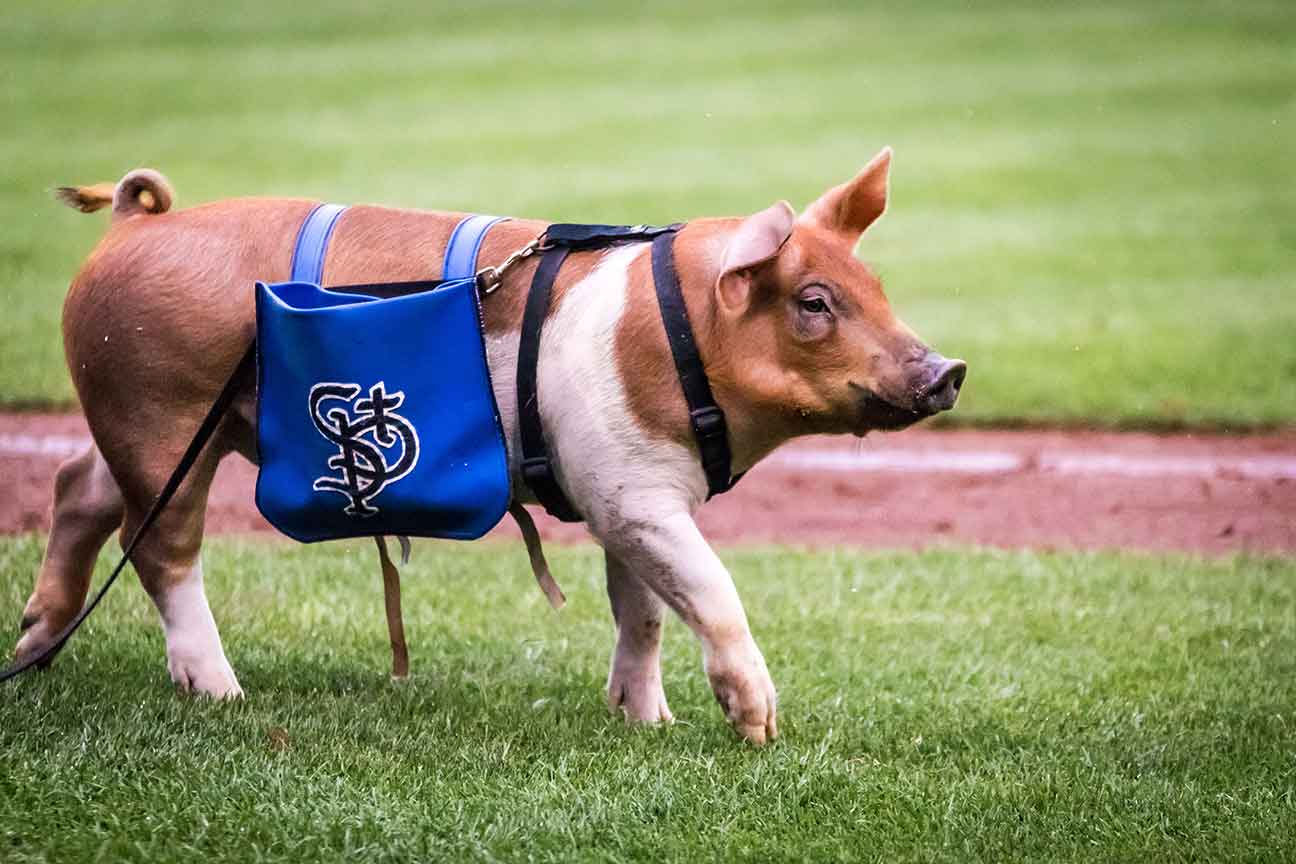
Fun Is Good!
That has been the St. Paul Saints Baseball Club’s motto for 29 seasons. They are a minor league baseball team that has become known for their wacky, crazy, and sometimes outlandish between inning promotions.
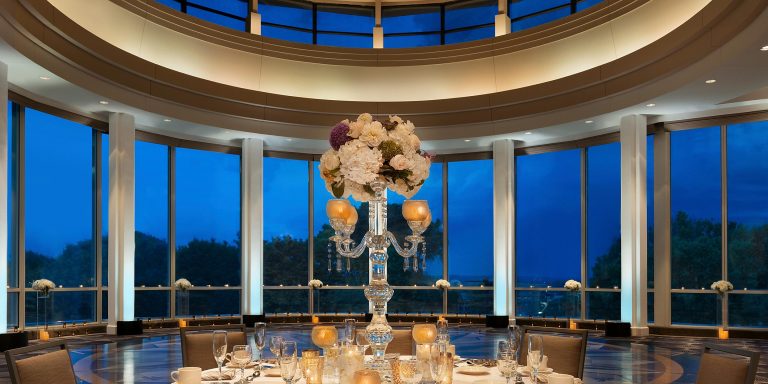
ICES Awards Banquet
Wednesday, 13 July
18:30 Pre-Reception
19:00 Dinner
AIAA Jeffries Award
ICES Student Poster Awards
2022 ICES Award for Technical Excellence
Dessert Reception
Minnesota Ballroom
Immediately following the Awards Banquet
sponsored by
Cocktails in Great River Court followed by dinner in the Great River Ballroom which includes an awards presentation. (Guests tickets may be purchased through online conference registration)
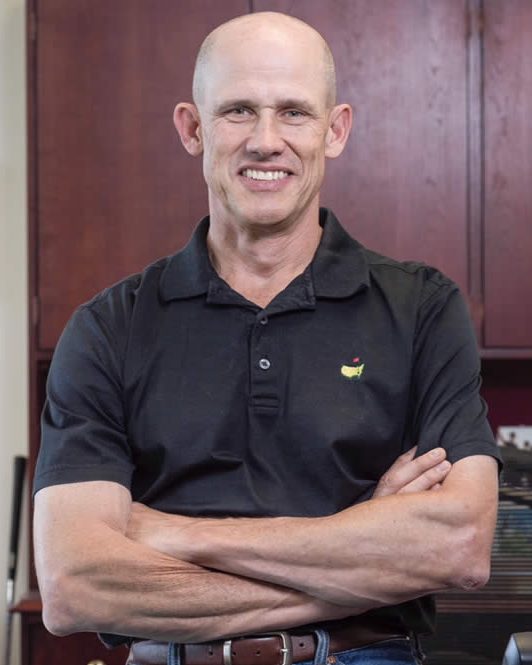
Keynote Speaker
Paul Geithner
Deputy Project Manager (Technical) James Webb Space Telescope
4 Days
37 sessions
290+ presentations Networking Activities